Adding Point Markers
Adding point markers
Your map is empty so far – so let's add some markers. To do so, you first need to understand the difference between the properties and the data when it comes to locator maps:
https://api.datawrapper.de/v3/charts/<ID>/dataentails all information about markers: marker symbols, marker text, marker text formatting, coordinates, connector lines. In Datawrapper's editor, that's everything you set in step 1: Add markers.https://api.datawrapper.de/v3/charts/<ID>entails all information about the general map, like the settings for the title, inset map, the zoom and design of your locator map. In Datawrapper's editor, that's everything you set in step 2: Design map and step 3: Annotate.
Every time you upload data, it overwrites the old data fileTo add a marker, you'll need to upload information about them with a PUT request. This will replace your data file. The PUT request needs to entail all the markers you'd like to see on the map.
Let's use the following PUT request to add the first marker to the map:
curl --request PUT \
     --url https://api.datawrapper.de/v3/charts/<ID>/data \
     --header 'Authorization: Bearer <YOUR_TOKEN_HERE>' \
     --header 'content-type: text/csv' \
     --data '{
  "markers": [
    {
      "type": "point",
      "title": "Buckingham Palace",
      "icon": {
        "path": "M1000 350a500 500 0 0 0-500-500 500 500 0 0 0-500 500 500 500 0 0 0 500 500 500 500 0 0 0 500-500z",
        "height": 700,
        "width": 1000
      },
      "scale": 1,
      "markerColor": "#cc0000",
      "anchor": "bottom-right",
      "offsetY": 0,
      "offsetX": 0,
      "text": {
        "color": "#333333",
        "fontSize": 15,
        "halo": "#f2f3f0"
      },
      "rotate": 0,
      "visible": true,
      "visibility": {
        "mobile": true,
        "desktop": true
      },
      "coordinates": [
        -0.140634,
        51.501476
      ],
      "tooltip": {
      	"text": "Some information about Buckingham Palace that shows up when hovering over the marker"
      }
    }
  ]
}'
There are many more properties you can define – but let's look at these basic ones in detail:
Point marker properties
Name | Type | Description |
|---|---|---|
| String | Defines if the marker is a point, area or line marker. |
| String | Marker text (displayed next to the marker symbol). You can use HTML tags like |
| String | SVG path of the marker symbol. To get the SVG path of a certain marker, create a locator map in the Datawrapper app and use a GET request. |
| Number | Height of the marker symbol |
| Number | Height of the marker symbol |
| Number | Size of the marker symbol. The bigger the number, the bigger the symbol. |
| String | Color of the marker symbol. |
| String | Defines where the marker text sits relative to the marker symbol. Possible options: |
| Number |
|
| Number |
|
| String | Color of the marker text. Default: |
| Number | Font size of the marker text. Default: |
| String | Outline around the marker text. Default: |
| Number | Defines the rotation of the marker text. Default: |
| Boolean | When |
| Boolean | When |
| Boolean | When |
| Array of numbers | Coordinates of the marker, e.g. |
| String | Text that will appear in a popup when hovering over the marker. |
Result
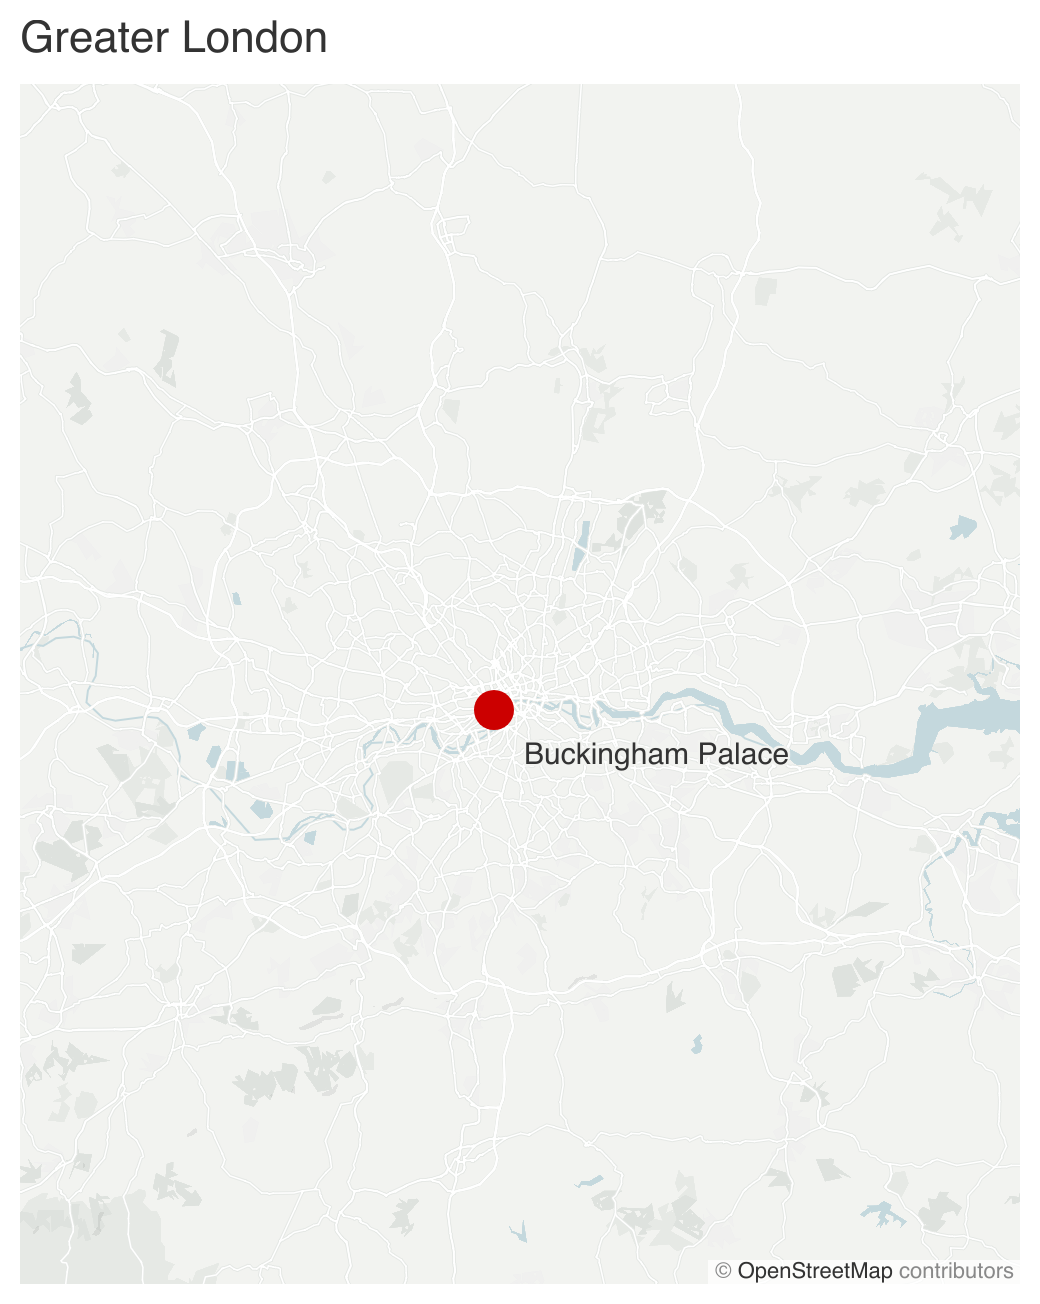
The resulting map will look like this:

Updated 8 months ago
